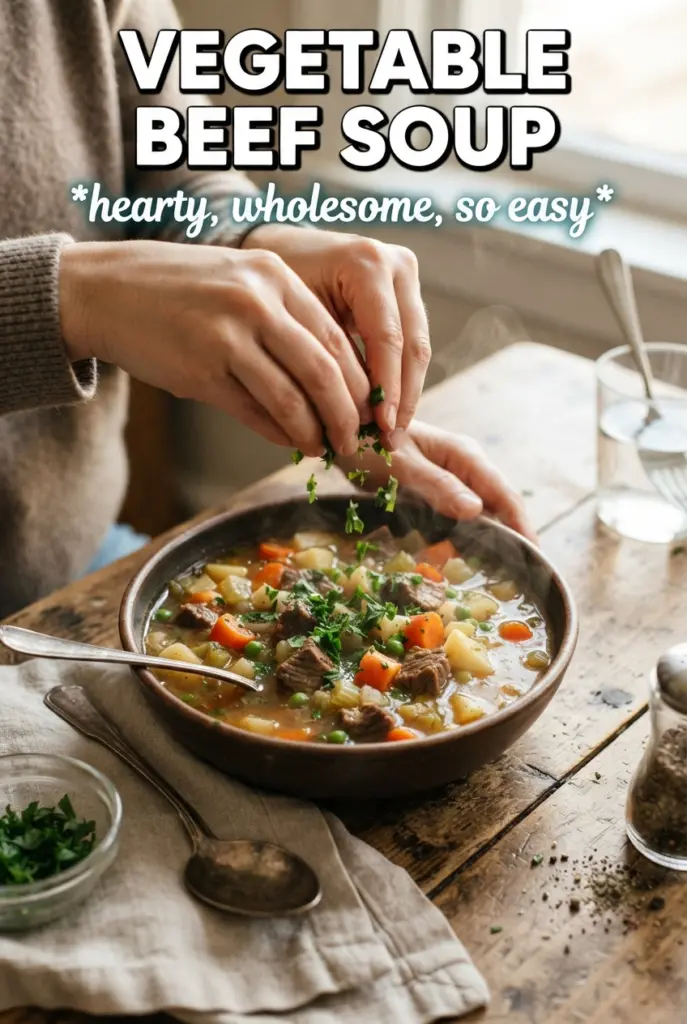
Vegetable beef soup earns its place in the dinner rotation when the broth turns deep and savory, the beef goes fork-tender, and the vegetables hold their shape without turning to mush. The best bowls don’t taste thin or rushed. They taste like the pot had time to build itself, with browned beef, sweet carrots, and potatoes that soak up every bit of the broth.
This version starts with a real sear on the beef, and that matters. Browning builds the base of the broth before any liquid goes in, which gives the soup a richer color and a more layered flavor. Tomato paste cooks with the vegetables long enough to lose that raw edge, and Worcestershire adds the kind of savory depth that makes the whole pot taste slow-cooked, even though the method is straightforward.
Below, I’ve laid out the timing for each vegetable so nothing gets overcooked, plus a few practical swaps and storage notes for the nights when you want to stretch one pot into a few meals.
The broth got so rich after that first simmer, and the potatoes held their shape instead of falling apart. My husband said it tasted like something from a diner in the best way.
Save this vegetable beef soup for a hearty one-pot dinner with tender beef, chunky vegetables, and a broth that tastes like it simmered all afternoon.
The Sear Is What Gives This Soup Its Real Broth
If the beef goes straight into liquid, the soup still works, but it stays flatter and more one-note. A good brown crust on the meat gives you the savory backbone that makes the broth taste full instead of just salty. That’s the difference between a thin vegetable soup with beef in it and a bowl that tastes built from the bottom up.
Work in batches and give the pieces space in the pot. Crowding traps steam, and steam is the enemy of browning. You want the beef to release from the pan on its own and leave behind browned bits on the bottom. Those bits dissolve later and carry the flavor through the whole soup.
Tomato paste does the same kind of work in a smaller way. Cooking it with the vegetables for a minute or two removes the raw taste and deepens the color of the broth. Skip that step and the soup can taste tinny instead of rich.
What Each Ingredient Is Doing in the Pot
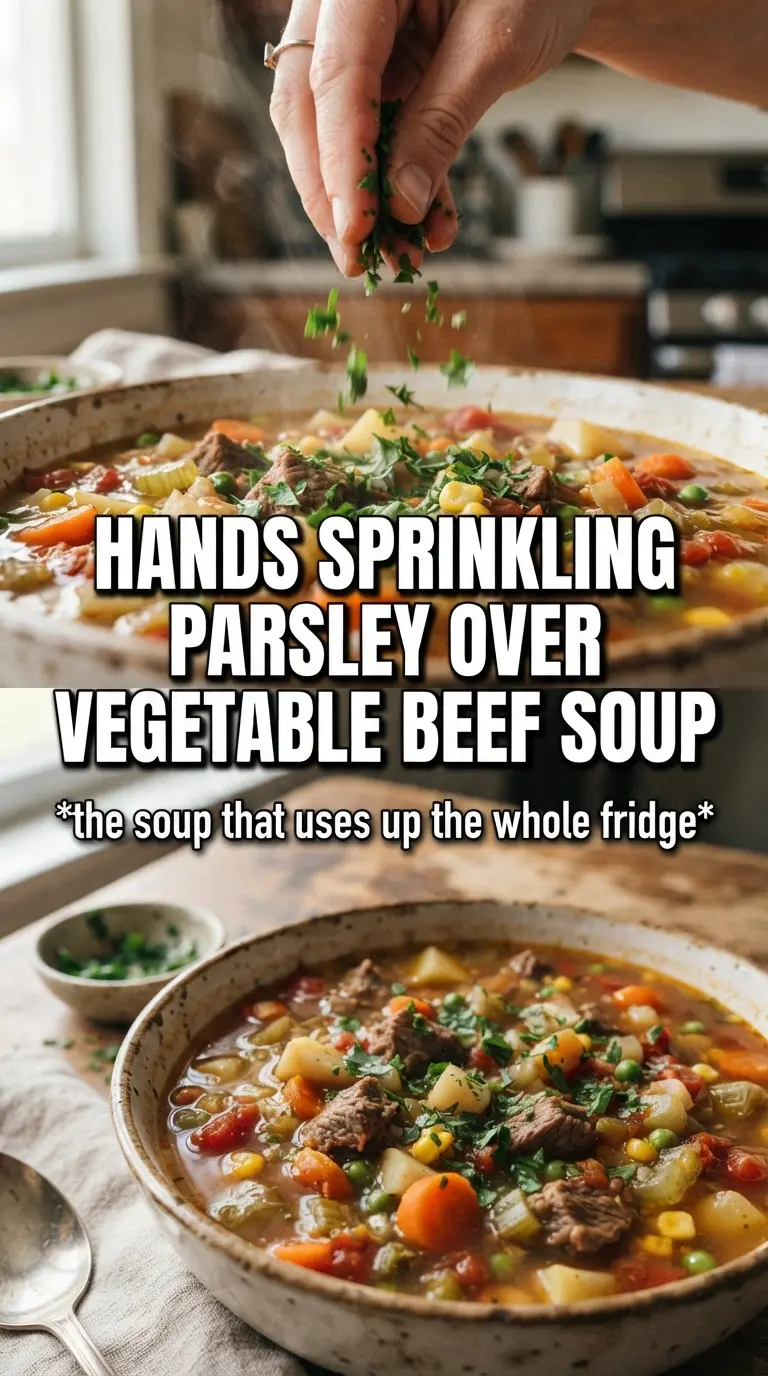
- Beef stew meat — This is the flavor anchor. Stew meat needs enough simmer time to turn tender, so cut it into even pieces and don’t rush the browning. If your package is especially lean, a little extra simmer time helps more than any shortcut.
- Beef broth — Use a broth you’d actually drink on its own. A better broth gives you a deeper base, especially because this soup doesn’t rely on cream or butter to round things out. If you only have low-sodium broth, that’s fine; you’ll just season at the end.
- Tomato paste and diced tomatoes — Tomato paste adds concentrated body, while diced tomatoes bring brightness and a little acidity. Together they keep the soup from tasting heavy. Cook the paste briefly before adding liquid so it blends into the broth instead of floating as a sharp tomato note.
- Potatoes, carrots, celery, green beans, and corn — These vegetables each bring a different texture, which is why the timing matters. The potatoes need the longest simmer after the beef starts to soften, while the green beans and corn go in near the end so they stay distinct. Frozen corn works well here and doesn’t need thawing first.
- Worcestershire sauce — This is the quiet ingredient that makes people ask what you did differently. It adds depth without making the soup taste like sauce. If you don’t have it, a small splash of soy sauce can cover some of the same savory ground, though it shifts the flavor a little.
The Simmer That Turns Tough Beef and Hard Vegetables Into Soup
Browning the Beef First
Heat the olive oil in a large Dutch oven and sear the beef in batches until the pieces have a deep brown crust on several sides. Don’t stir constantly; let the meat sit long enough to color. If the pan looks crowded or wet, lower the heat a little and work in smaller batches so the beef browns instead of steaming.
Building the Vegetable Base
Add the onion, carrots, and celery to the same pot and cook until the onion turns translucent and the vegetables start to soften around the edges. Stir in the garlic and tomato paste and cook for about two minutes, just until the paste darkens slightly and smells sweet rather than sharp. That step keeps the broth from tasting raw.
Letting the Soup Simmer
Return the beef to the pot, add the broth, tomatoes, Worcestershire, thyme, and bay leaf, then bring everything up to a boil before dropping the heat to a gentle simmer. You want lazy bubbles, not a hard boil, because a hard boil can toughen the meat before it has time to soften. After about 30 minutes, the beef should be starting to give when you poke it with a spoon.
Finishing With the Right Vegetable Timing
Add the potatoes and simmer until they’re just tender, then add the green beans and corn for the final stretch. This staggered timing keeps the potatoes creamy without falling apart and keeps the green beans from turning drab. Pull the bay leaf before serving and season at the end, since the broth reduces slightly and the salt level can change as it cooks.
What to Change When You Need a Different Version
Make It Gluten-Free Without Losing Depth
This soup is already naturally gluten-free as written if your broth and Worcestershire sauce are certified gluten-free. The only thing to check is the label on the broth, since some brands use additives that aren’t safe for every kitchen. The flavor stays the same.
Use Different Vegetables for What’s in the Fridge
Swap in peas, peas and carrots, or diced zucchini if that’s what you have. Just add softer vegetables near the end so they don’t disappear into the broth. Root vegetables like turnips or parsnips can go in with the potatoes and add a slightly sweeter finish.
Stretch It Further for a Bigger Crowd
You can add another cup or two of broth and an extra potato if you want a looser soup that serves more people. The flavor still holds because the browned beef and tomato paste carry the base. If you do this, taste again at the end and add more salt than you think you need, since extra liquid dilutes the seasoning.
Storage and Reheating
- Refrigerator: Keeps well for 4 days. The potatoes soften a little more as it sits, but the flavor deepens overnight.
- Freezer: Freezes well for up to 3 months. Let it cool completely first, then portion it into airtight containers. The potatoes will be slightly softer after thawing, but the soup still holds up.
- Reheating: Reheat gently on the stovetop over medium-low heat until hot. Don’t blast it on high or the beef can dry out and the broth can reduce too far before the center is warmed through.
Questions I Get Asked About This Recipe
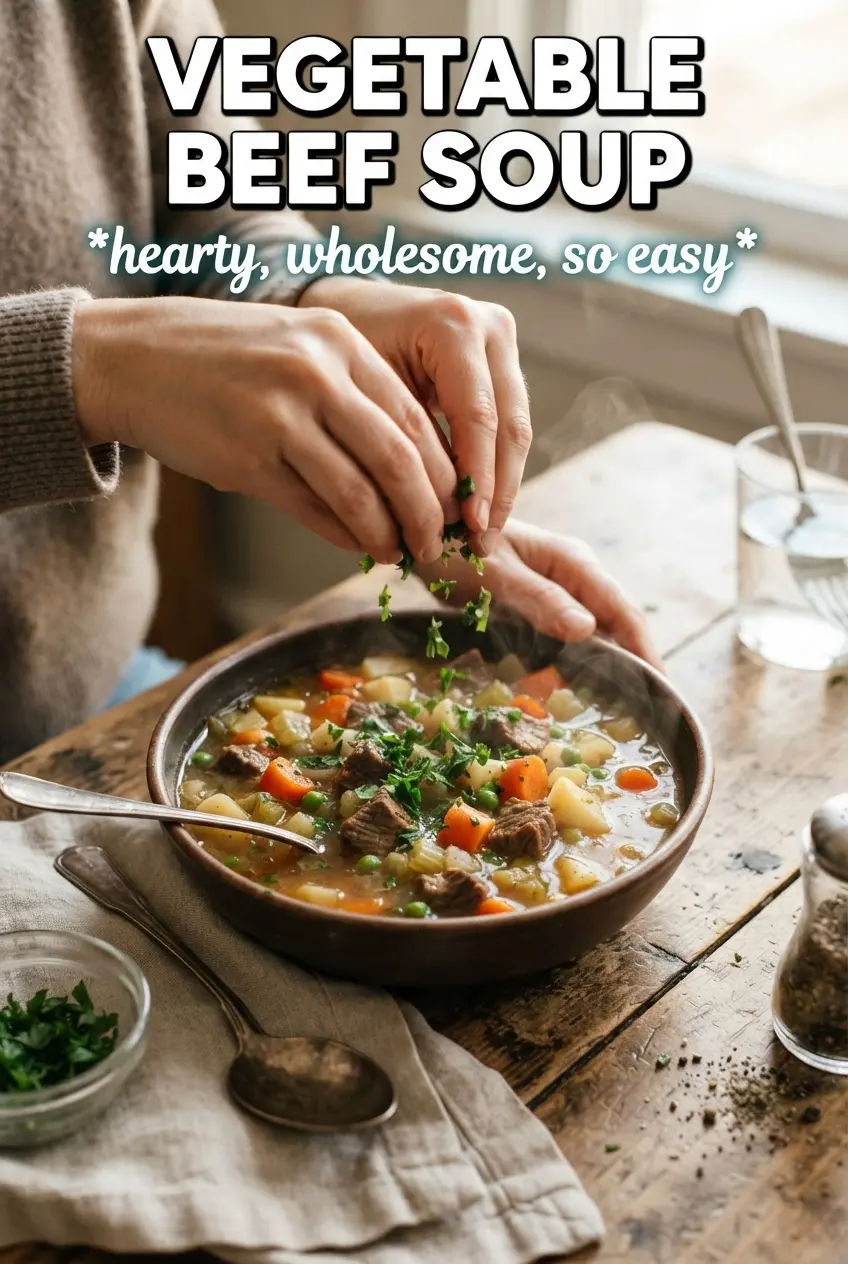
Vegetable Beef Soup
Ingredients
Equipment
Method
- Heat 2 tablespoons olive oil in a large Dutch oven over medium-high heat, then sear the beef stew meat in batches until browned on all sides. Remove the browned beef to a plate.
- Add the diced onion, sliced carrots, and sliced celery to the Dutch oven and sauté for 5 minutes. Stir in the minced garlic and tomato paste, then cook 2 minutes.
- Return the browned beef to the pot. Add the beef broth, diced tomatoes, Worcestershire sauce, dried thyme, and bay leaf.
- Bring the mixture to a boil, then reduce heat to a simmer and cook for 30 minutes.
- Add the cubed potatoes and cook for 15 minutes, until tender. Then add the cut green beans and frozen corn.
- Simmer for the last 8 minutes, until the green beans are just tender. Remove the bay leaf, then season with salt and black pepper to taste.